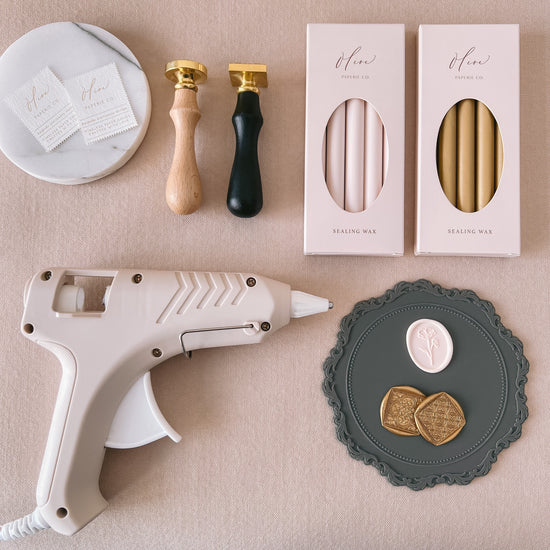
How To Make The Perfect Wax Seal
Achieving a flawless wax seal can be challenging, BUT it is achievable with patience and proper techniques. We often receive messages from wax seal enthusiasts seeking advice on how to overcome the challenges of creating perfect wax seals.
In this guide, catered to both beginners and seasoned crafters, we provide practical tips and techniques that will empower you to create flawless wax seals, ensuring perfection every impression.
How to Make the Perfect Wax Seal
How to Make Perfectly Round Wax Seals

Temperature Control
Controlling the temperature of the sealing wax is one of the most crucial elements for creating a flawless and round wax seal, as it directly affects the consistency of the wax which influences how well-defined the shape of the wax seal and the impression of the design will be.
Overheating
When your wax is over-heated, it will be runnier than its ideal consistency. As you pour or dispense it onto the project surface, it will spread out faster, resulting in a flat and disproportionate wide wax seal lip rather than an even and well-defined lip.
Solution for this would be to opt for a glue gun or sealing wax gun with a low temperature setting. If you're using a melting stove, remove the wax from the stove whenever it gets too hot (when air bubbles start to appear or the consistency becomes very runny)
Not sufficiently heated
If your wax is not sufficiently heated or if you wait too long before stamping, it will result in an uneven or broken lip.
Solution for this would be to heat up your wax for a little longer and pay attention to the correlation between the consistency of your wax and the result of the wax seal. It might take several tries to find the perfect consistency.
Pouring/Dispensing Technique
Using a sealing wax gun
Aim the nozzle close to the project surface, with approximately just a quarter of an inch in between. Keeping it close to the surface gives you better control in dispensing a perfectly round blob of wax.
Apply steady pressure to the trigger and avoid sudden movements so that the dispensed wax is in a perfectly round shape. It's important to experiment and determine the right amount of wax for your specific stamp size to create an even and proportional lip.
Using a melting stove
Add enough wax into the melting spoon to ensure complete coverage for achieving an even wax seal lip. Ensure all of it is fully melted before pouring. Positioning your spoon closer to the surface of your project as you pour provides better control over the flow of wax and helps create a precise and perfectly round wax blob.
Stamp Placement
The final step is to position the stamp in the center of the wax and apply steady and even pressure as you press the stamp into the wax. It is crucial to avoid any tilting of the stamp which can lead to an uneven wax seal lip.
How to Achieve a Smooth Wax Seal

Avoiding Wrinkles
If the sealing wax is not sufficiently heated or if you wait too long before stamping onto the wax, it will result in rings of wrinkles or ripples on the wax seal's surface around the design.
If you are icing your stamp to speed up the process, it is important to apply steady and firm pressure as you press your stamp into the wax. Stamping too slow can cause the cold surface to excessively cool the wax. Therefore, aim for a steady and controlled speed to achieve the best outcome. Also, make sure to wipe all moisture off the stamp to ensure a smooth wax seal surface.
Avoiding Bubbles
Overheating the sealing wax can introduce air bubbles into the mixture. As the wax cools and solidifies, these trapped air pockets become visible, marring the smoothness of the wax seal and clarity of the design. It can also compromise the durability of the seal, making it more susceptible to damage or breakage.
Using a glue gun or sealing wax gun with a low temperature setting can minimize the appearance of air bubbles and increase your chance of achieving a smooth wax seal.
How to Achieve the Perfect Size

It might require a bit of experimenting but it is crucial to determine the right amount of wax needed for your specific wax stamp shape and size.
For a standard 1" round wax stamp, with most glue guns and sealing wax guns, typically 1 full pump is sufficient to create a wax seal with a round and proportional lip. However, if the design is large or features 3D engraving, you may need to add slightly more wax.
For other stamp shapes and sizes, give it a few tries to find the perfect amount of wax to create the results you desire.
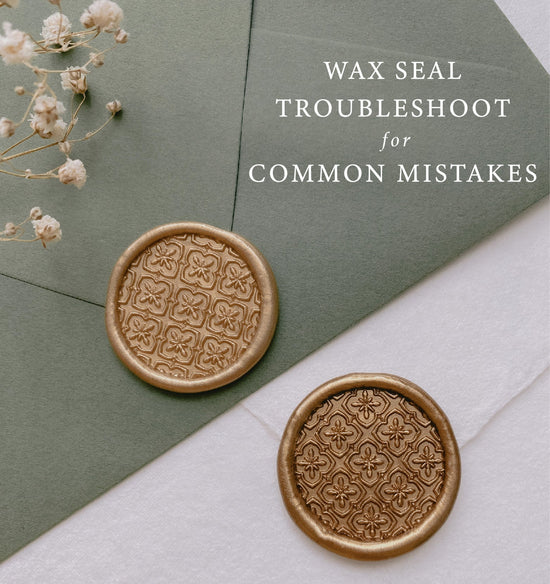
Conclusion:Perfect Wax Seals!
Perfecting the art of wax sealing can be a rewarding and enjoyable experience. Although it is common to face challenges during the process, with patience and practice, anyone can master the art of creating perfect wax seals.
Whether you are adding a personal touch to invitations or embellishing craft projects, remember to enjoy the process and embrace the creativity it brings.
Happy stamping!