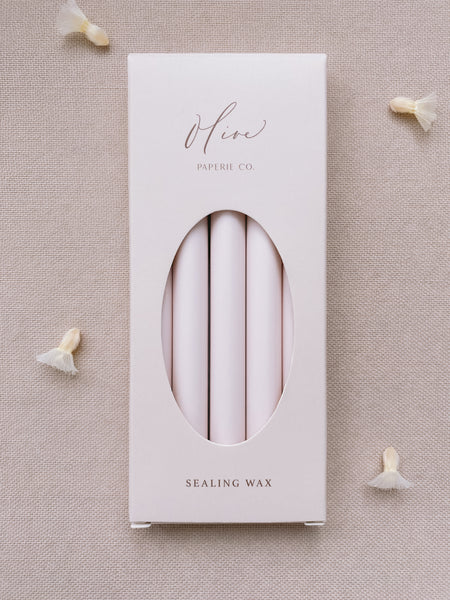
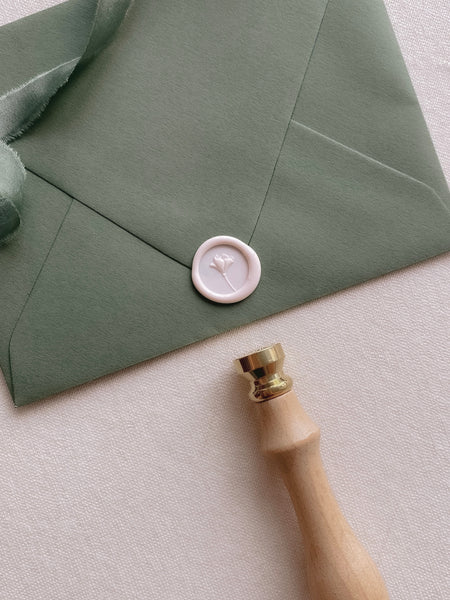
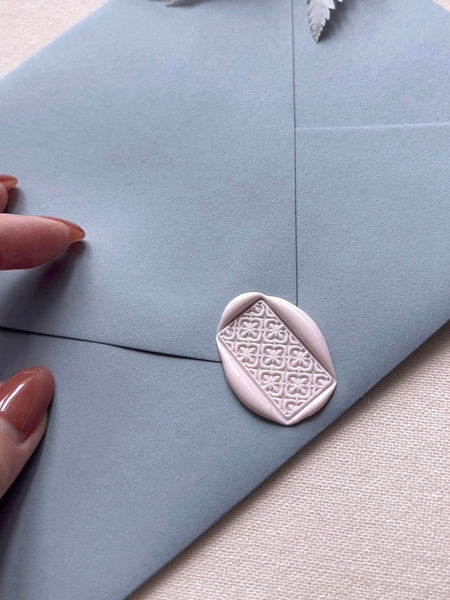
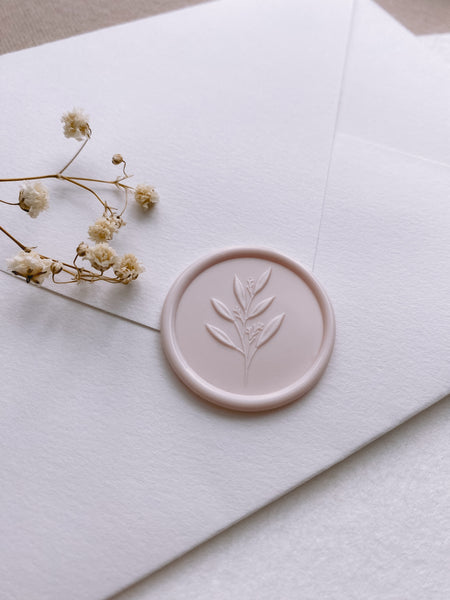
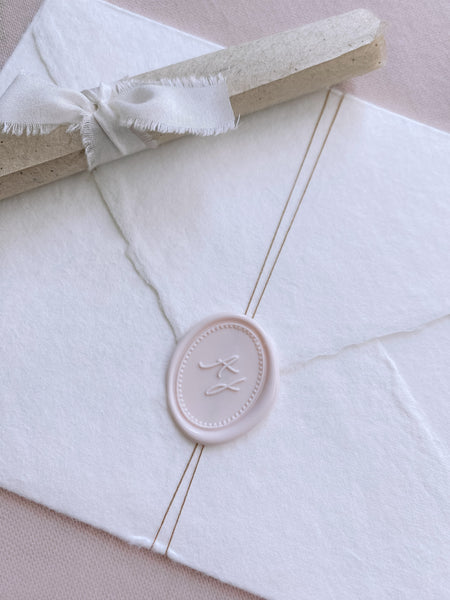
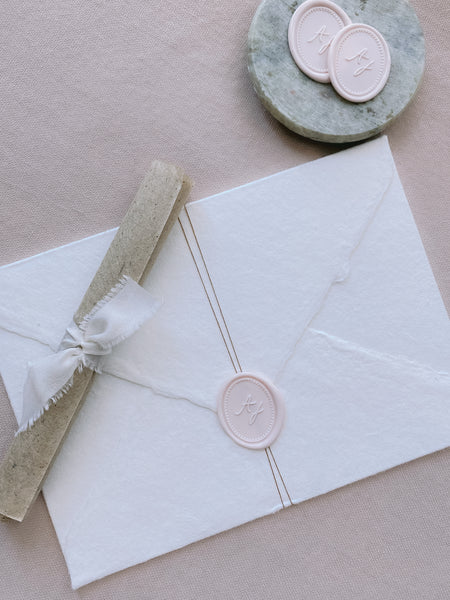
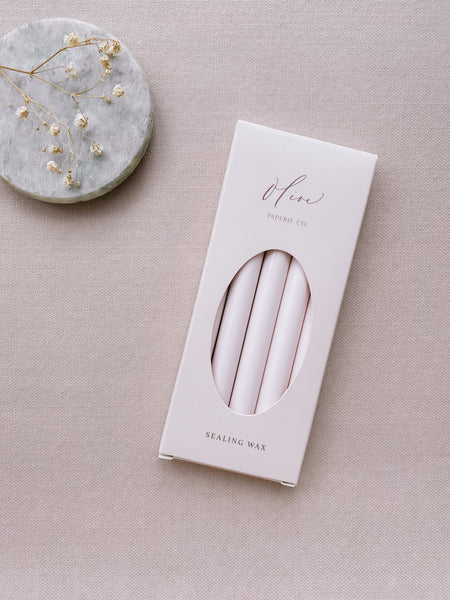
Ivory Nude Sealing Wax Sticks
Our Ivory Nude Sealing Wax Sticks are available in sets of 5 or 10. These glue gun sealing wax sticks are perfect for projects such as wedding invitations, wedding day stationery, brand packaging, craft projects and more.
Our sealing wax sticks are of premium quality and easy to use. It melts evenly, producing a smooth texture in a rich, beautiful color that will add a lovely touch to your projects. These wax sticks are both flexible and durable, creating wax seals that are safe for mailing and providing both elegance and durability.
Features
• Used with a full-size glue gun
• 0.44" in diameter & 5.3" in length
• Each stick makes ≈12 wax seals with a 1" stamp (an extra stick is required to fill the chamber of a new glue gun)
• Quality wax sticks that create even-colored wax seals with a defined edge
• Flexible, durable and holds up well in the mail
Order processing time
1-3 business days
(Shipping durations are indicated during checkout and vary depending on the destination)
Shop related products
Low temperature glue gun, Designed wax stamps, Monogram wax stamps, Wax beads, and Wax seal accessories
How to make wax seals
1. Insert 2 sealing wax sticks into a glue gun
2. Wait a few minutes for the wax to melt
3. Dispense wax onto the project surface
4. Steadily press your wax stamp into the sealing wax
5. Allow a few moments for the wax seal to dry
6. Lift your wax stamp and let the wax seal cool for at least 10 seconds
Read our blogs for wax sealing tips!
Wax Seal Making Beginner's Guide - Everything You Need To Know
Wax Seal Troubleshoot: Tips & Tricks to Avoid Common Mistakes


