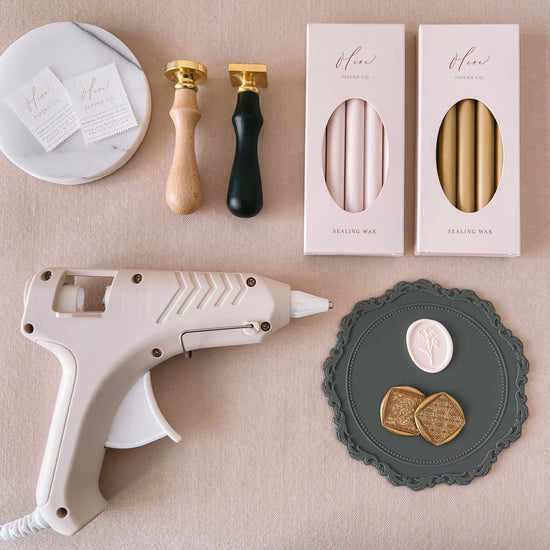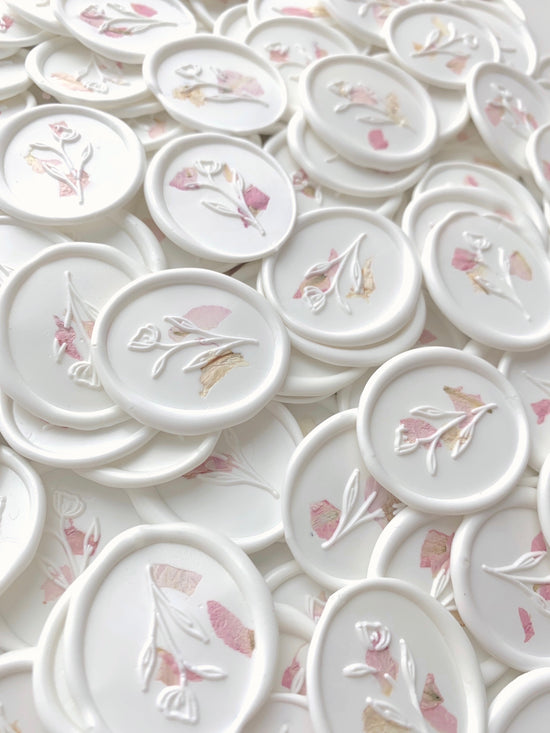
Wax sealing is a traditional and sophisticated method of personalizing your letters, wedding invitations, and other paper stationery. This technique involves using sealing wax and wax seal stamp to create a seal that adds a touch of luxury to your correspondence.
However, even for those with experience, it's important to be careful when working with wax seals. Mistakes such as wax overheating or uneven alignment can easily occur and significantly affect the final outcome.
Whether you're a beginner (check out our "The Ultimate Beginners Wax Sealing Guide") or experienced in wax sealing, you'll find valuable insights that will help you enhance your wax sealing skills and impress your recipients.
Don't worry! Wax sealing mistakes are common, but it's important to know how to avoid wax sealing errors to achieve the best results.
In this blog post, we'll explore some of the most common wax sealing mistakes and how to prevent them. We will provide pro tips to help you achieve consistently stunning wax seal results.
Wax Seal Troubleshoot for Common Mistakes
Mistake 1: Using the Wrong Sealing Wax
One common mistake is selecting the wrong sealing wax type. Traditional sealing wax is ideal for decorative purposes, while flexible sealing wax is more durable and suited for mailed envelopes.
Solution:
To ensure you have the right sealing wax, read product descriptions and select accordingly.
Mistake 2: Insufficient Heating or Overheating Wax
One common wax sealing problem when making wax seals is not melting the wax properly. If the wax doesn't melt completely, the wax seal might have uneven edges and a rough surface.
If you're using sealing wax sticks with a sealing wax gun, you may encounter difficulties dispensing wax that hasn't melted enough.
On the other hand, overheating is also a common mistake that can lead to frustration. This happens when the sealing wax is heated excessively, resulting in air bubbles along the wax seal's edge and a loss of its defined shape, resulting in a flatter appearance.
Solution:
Use a low-temperature sealing wax gun or glue gun to melt the wax. Ensure the wax is fully liquefied before pouring it onto your project surface.
If you are heating the wax over a candle, remember to remove it from the flame or stove when it becomes too hot.
Following these steps can help you achieve smoother, bubble-free wax seals with well-defined edges.
Mistake 3: Overloading the Seal
Using too much sealing wax might be tempting, particularly if you desire a thicker wax seal. However, overloading the seal can lead to wax overflow and a flat, disproportionate edge.
For your reference, a 0.44" in diameter & 5.3" sealing wax stick can make approximately 10-12 pieces of 1" wax seals. For a standard wax bead size, you will need about 2-3 wax beads per seal.
Solution:
Use a moderate amount of sealing wax to cover the area you want to seal, usually around the size of a dime for a standard 1-inch wax stamp. Experiment to find the right amount for your specific wax stamp size.
Mistake 4: Incorrect Wax Placement
Placing the sealing wax in the wrong spot on your paper can impact the overall look of your wax seal. Centering the seal is important for a more precise appearance.
Solution:
Lightly mark the center of your paper or envelope with a pencil before you begin wax sealing. This simple step will assist you in positioning the wax accurately for a centered wax seal.
💡 PRO TIP #1
Improve precision with a round wax stamp by adding a strip of colored tape on the edge for a centered design on your project.
💡 PRO TIP #2
Pre-making wax seals on a silicone mat and applying 3M adhesive backings before applying to the project will solve both issues of precision and appearance. Many wedding stationery designers do it this way.
Mistake 5: Wax Stamp Keeps Sticking to the Wax
When this happens, it means the wax stamp surface is too hot or not allowed sufficient time to cool off.
Solution:
Make sure the wax stamp is cooled off before stamping. Take your time when making wax seals, and make it a therapeutic and enjoyable process.
💡 PRO TIP
You can chill your stamp on ice after every couple of uses, this can help speed up the process significantly.

Conclusion: Practice Makes Perfect
By avoiding these wax seal common mistakes and trying the suggested solutions, you can improve your wax sealing skills and create lovely wax seals for your letters, wedding invitations, and creative projects.
Remember, it is all about practice, so do not worry if your first attempts are imperfect. With time and experience, you will become skilled at wax sealing and be able to create perfect wax seals!
We also have another blog that you will find helpful -"The Ultimate Beginners Wax Sealing Guide" which covers a detailed step-by-step guide about wax seal making, so be sure to check it out!
We hope you found these tips helpful for perfecting your wax seals. To stay updated on more crafting and wax sealing tips, follow us on Instagram and Pinterest @OlivePaperieCo.


